
Survival Guide: How to Install Video Doorbell in No Time

Video doorbells have become more than just a convenience; they are a vital part of home security, providing real-time monitoring and peace of mind. Studies show that over 35% of US households have adopted video doorbells, underscoring their growing popularity.
Whether you're deterring porch pirates, keeping an eye on deliveries, or simply want to see who's at the door without getting up, a video doorbell is a smart investment. But before you can enjoy these benefits, you need to install it. Thankfully, modern video doorbells are designed for DIY installation, and with a little guidance, you can have yours up and running in no time.
Top Video Doorbell Brands: A Quick Comparison

| Features | Kangaroo Video Doorbell | Ring Battery Doorbell | Arlo Essential | Wyze Video Doorbell Pro |
|---|---|---|---|---|
| Price | $69.99 | $99.99 | $79.99 | $99.98 |
| Camera Quality | 1080p | 1440p | 1080p | 1440p |
| Installation | DIY | DIY or Professional | DIY or Professional | DIY |
| Power Source | Battery (Rechargeable) | Rechargeable Battery or Wired | Battery (Rechargeable) | Battery (Rechargeable) |
| Field of View | 130 degrees | 150 degrees | 130 degrees | 150 degrees |
| Storage Option | Cloud | Cloud | Cloud | Cloud |
| Night Vision | Yes | Yes | Yes | Yes |
| Recording Trigger | Motion, Doorbell Press | Motion, Doorbell Press | Motion, Doorbell Press | Motion, Doorbell Press |
| Two-way Talk | Yes | Yes | Yes | Yes |
| Live Video Streaming | Yes | Yes | Yes | Yes |
| Audio Recording | Yes | Yes | Yes | Yes |
| 24/7 Professional Monitoring | $99.99/year | $199.99/year | $249.99 | $99.99/year |
| Subscription Requirement | Optional | Highly Recommended | Highly Recommended | Recommended |
| Other Features | -- | 12x Zoom, Built-in Siren | Digital Zoom | Package Theft or Property Damages Reimbursement |
| Package Theft or Property Damages Reimbursement | Yes, Up to $1,000.00/year | None | None | None |
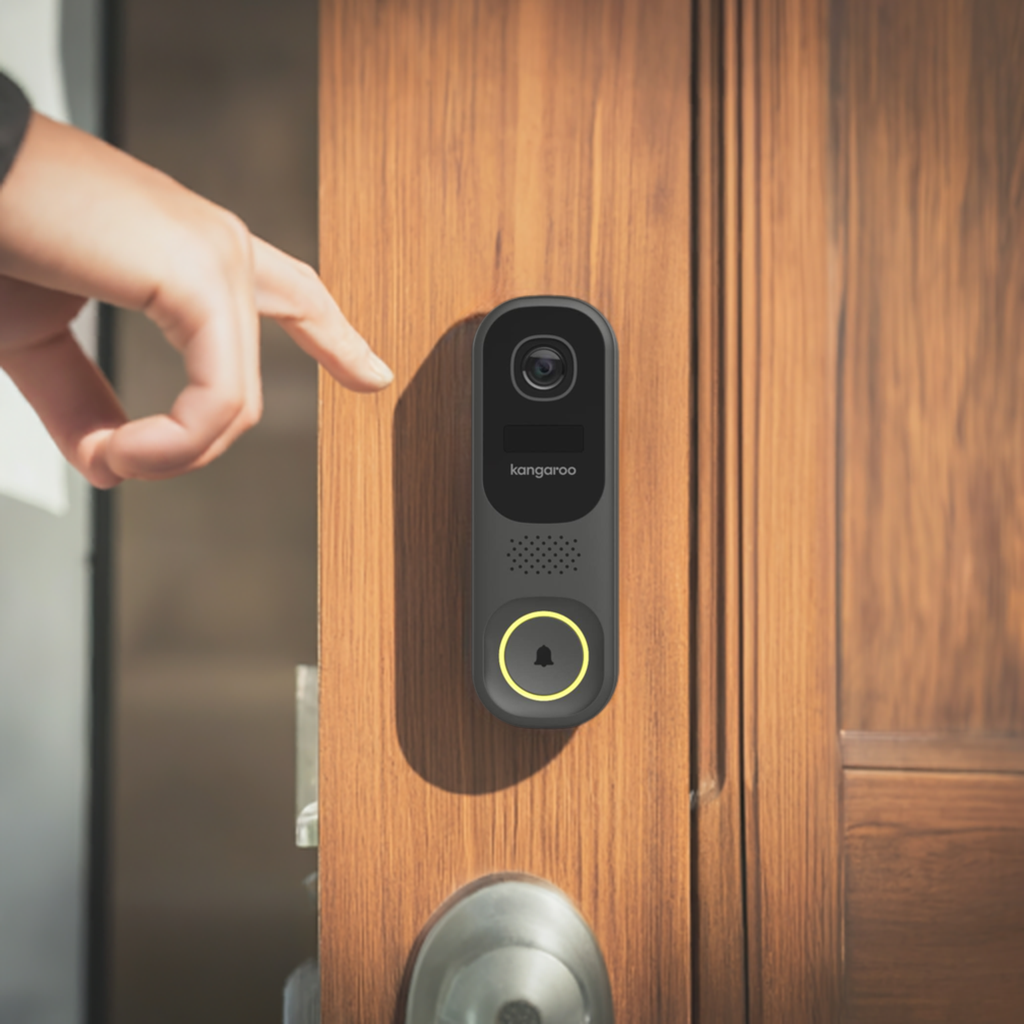
How the Kangaroo Video Doorbell Stands Out
The Kangaroo Video Doorbell offers an exceptional combination of affordability, functionality, and unique benefits that set it apart in the competitive doorbell camera market:
Unbeatable Price: At just $69.99, the Kangaroo Video Doorbell is one of the most budget-friendly options available, making smart home security accessible to everyone.
Comprehensive Protection: Unlike competitors, Kangaroo provides up to $1,000 per year in reimbursement for package theft or property damage, offering real financial peace of mind.
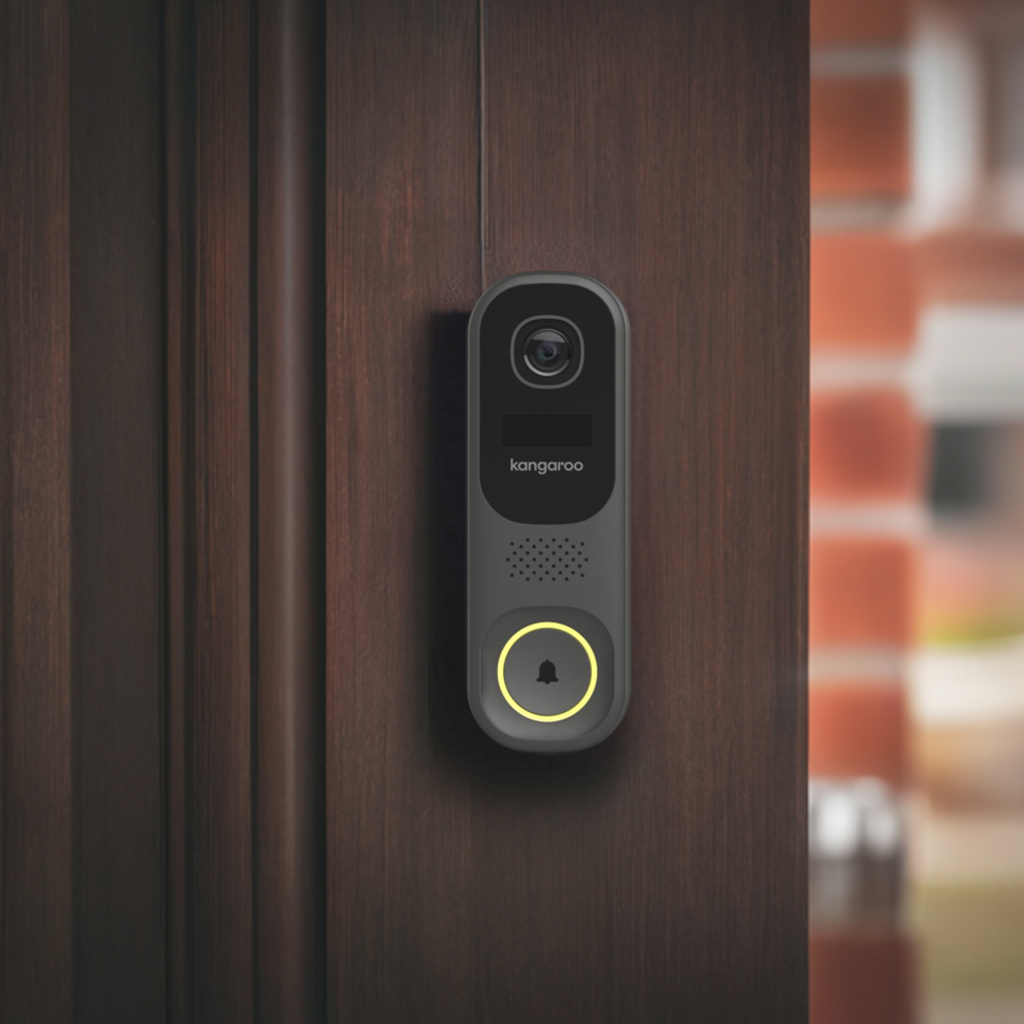
Hassle-Free Installation: The DIY setup is simple and perfect for renters or homeowners who prefer flexibility.
Subscription Optionality: Kangaroo ensures you can enjoy its core features without being locked into a subscription, unlike many other brands that heavily rely on recurring fees.
Smart Features: With 1080p video quality, motion detection, night vision, and two-way talk, it delivers all the essentials for monitoring your home effectively.
Kangaroo proves that advanced home security doesn’t have to come at a premium cost, making it a smart choice for anyone looking to protect their property and packages.
Why our customers love Kangaroo
Our Doorbell Cameras are quickly becoming a favorite among homeowners and renters alike. But don’t just take our word for it—here’s what actual users have to say about their experiences:
My Kangaroo is Great
“Living alone, it’s reassuring to know who’s at the door. Kangaroo works exactly as promised, sending phone alerts when I’m not home. Worth every penny!”
— Kim W., Amazon Verified Purchase
Excellent Doorbell & Chime Kit from Kangaroo
“This budget-friendly video doorbell camera delivers impressive clarity, almost like 4K, thanks to its FHD sensor. The rechargeable battery and loud USB chime add convenience. Kangaroo Security stands out for its quality!”
— Jessie4242, BestBuy Verified Purchase
User-Friendly and Reliable
“The app is easy to use, with timely alerts and 30 days of cloud storage. Setup is simple, and I’ve been satisfied since the initial purchase. It offers excellent value compared to pricier systems.”
— Sharon W., Kangaroo PlayStore Review
Affordable and Effective
“I appreciate the Wi-Fi image feature and the affordable price. The initial setup is free, with an optional upgrade. Great job, Kangaroo!”
— Michael W., Kangaroo PlayStore Review
Essential Tools for Video Doorbell Installation
Before diving into the installation process, let's gather the necessary tools:
Screwdriver
Drill
Level
Pencil
Voltage Tester (optional but recommended)
Your video doorbell kit (which should include mounting hardware and instructions)
General Steps for Video Doorbell Installation
While specific instructions might vary based on the video doorbell model, these general steps outline the typical process:
Turn Off the Power: Safety first! Locate the circuit breaker that controls your existing doorbell chime and switch it off.
Remove the Existing Doorbell: Unscrew and carefully disconnect the wires from your old doorbell button.
Install the Mount Bracket: Attach the new mount bracket to your doorframe using the provided screws. Ensure it's level for an aesthetically pleasing and functional installation.
Connect the Wires (If Applicable):
Wired Doorbell: If your video doorbell is hardwired, connect the existing doorbell wires to the corresponding terminals on the new doorbell. If the wires are too short, use the included wire extenders or jumper cables. Secure the connections with wire nuts or terminal screws.
Wireless Doorbell: If your doorbell is battery-powered, you can skip this step.
Mount the Video Doorbell: Slide or snap the video doorbell onto the mount bracket. Secure it firmly using the provided security screw to prevent tampering.
Restore Power: Turn the circuit breaker back on to power your new video doorbell.
Set Up the App: Download the video doorbell's corresponding app to your smartphone or tablet. Follow the on-screen instructions to connect the doorbell to your home's Wi-Fi network.
Test Your Doorbell: Press the doorbell button to ensure the chime sound is audible and the video feed is functioning correctly.
Installing the Kangaroo Video Doorbell: Wired & Wireless Options
Wired Installation:
Check Voltage: Using a voltage tester, confirm that your existing doorbell wiring delivers a voltage between 8-24V AC. If it doesn't, you may need to install a new doorbell transformer to ensure compatibility.
Connect the Wires: Connect the existing doorbell wires to the terminals on the Kangaroo Video Doorbell. Utilize the provided wire nuts for secure connections. If the wires are too short, employ the included jumper cable for additional length.
Mount and Secure: Affix the mount bracket securely to your doorframe, then slide the Kangaroo doorbell onto it. Use the included security screw for added protection.
Connect the Chime (Optional): If desired, plug in the included Kangaroo Chime to an electrical outlet within your home to provide an audible doorbell chime sound.
Set Up in the App: Download the Kangaroo app (Google, Apple) , create an account, and follow the on-screen prompts to connect your doorbell to your Wi-Fi network.
Wireless Installation:
Charge the Battery: Fully charge the Kangaroo doorbell battery using the provided USB cable and adapter.
Mount with Adhesive or Screws: Choose the mounting method that suits your preference. You can use the included adhesive strips for a quick and easy installation, or opt for the screws for a more permanent fixture.
Set Up in the App: Download the Kangaroo app (Google, Apple) , create an account, and follow the in-app instructions to connect your doorbell to your Wi-Fi network.
Troubleshooting Common Issues
Even with a straightforward installation process, you may encounter a few hiccups:
No Chime Sound: Double-check that the circuit breaker is on, the chime connector is correctly installed (for wired doorbells), and the chime volume is turned up in the app.
Poor Wi-Fi Connection: If your video doorbell struggles to connect or maintain a stable Wi-Fi connection, try moving it closer to your router. You can also consider investing in a Wi-Fi extender to boost your network's range.
False Motion Alerts: If your doorbell triggers alerts for insignificant movements, adjust the motion detection sensitivity in the app to fine-tune its responsiveness.
Video Doorbell Camera Placement Tips

Choosing the right location for your video doorbell is crucial for maximizing its effectiveness:
Height: Ideally, mount your video doorbell at about chest height (around 4-5 feet) for optimal viewing of visitors' faces.
Angle: Consider the angle of your door and porch to ensure a clear view of anyone approaching. Avoid positioning it directly under a porch overhang, which can create shadows and obscure the video feed.
Centering: Place the doorbell centrally near your door, ensuring it captures the main entryway and a portion of the surrounding area.
Obstacles: Remove any obstructions that might block the camera's view, such as hanging plants or decorations.
Conclusion
Installing a video doorbell, like the Kangaroo, elevates your home security and offers unmatched convenience. With user-friendly designs and simple installation processes, you can DIY your way to a safer, smarter home in no time.
Remember: Always prioritize safety. If you're unsure about any electrical wiring, consult a licensed electrician.
FAQs: Your Video Doorbell Installation
Your Questions Answered
-
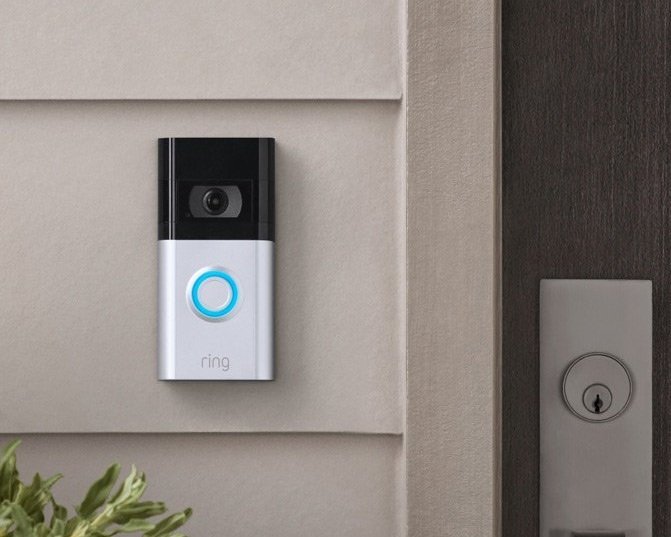
The Kangaroo Video Doorbell is a cost-effective alternative to the Ring Video Doorbell and Video Doorbell Pro, offering key features like motion detection, night vision, and two-way talk at a lower price. While the Ring Video Doorbell Pro supports hardwired installation and advanced features like dual-band Wi-Fi, Kangaroo focuses on simplicity, with a battery-powered option and optional subscription services.
-
No, the Kangaroo Video Doorbell is completely wireless and battery-operated, making it ideal for homes without existing doorbell wires or transformers.
-
The Kangaroo Video Doorbell comes with screws, security screws, and a mounting bracket for secure attachment. It is designed for easy DIY installation.
-
Yes, the Kangaroo Video Doorbell supports a wireless doorbell chime, ensuring you’ll hear alerts inside your home without additional wiring or setup.
-
Kangaroo stands out by offering up to $1,000 per year in reimbursement for package theft or property damage, a feature not provided by Ring or other competitors.
-
No, the Kangaroo Video Doorbell is designed to be battery-powered and does not require hardwiring, doorbell transformers, or doorbell terminals for installation.
-
Installing the Kangaroo Video Doorbell typically requires just a screwdriver, making it a quick and easy process for most users.
-
While hardwired doorbells like Ring’s wired and Video Doorbell Pro models don’t rely on batteries, the Kangaroo Video Doorbell offers long-lasting rechargeable battery performance, making it a convenient and portable option.
-
Yes! Because the Kangaroo Video Doorbell is wireless and doesn’t require a transformer, it’s an excellent choice for homes with older or incompatible transformers.
-
The Kangaroo Video Doorbell is designed to work seamlessly with its own wireless chime but may not integrate directly with third-party systems or hardwired chimes like Ring’s wired options.